
How To Shoot a Timelapse of the Dallas Skyline
- Hunter Gregory

- Mar 24, 2023
- 3 min read
Updated: Feb 4
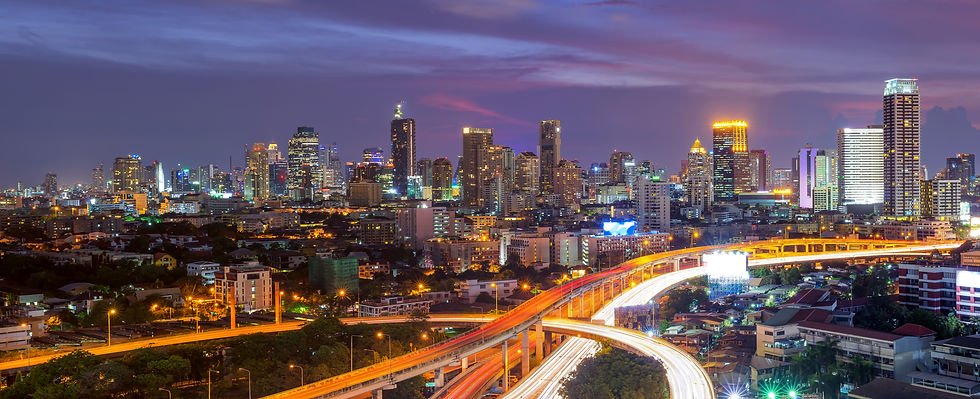
The breathtaking skyline of Dallas is a natural subject for time-lapse photography. You may show off the cityscape's beauty and energy by filming it over time and stitching together the resulting stills and motion. In this article, we will walk you through the steps of filming a cityscape timelapse, with a special emphasis on the exciting Dallas version.
1. Finding a Good Spot
An interesting timelapse of a metropolis can't begin until the right perspective point is found. Think of places like the lookout atop Reunion Tower, the Margaret Hunt Hill Bridge, or the vantage points around White Rock Lake. If you want to include moving components in your timelapse, such as traffic or water, choose a location with a clear view of the city.
2. Timeliness and Planning
If you want the best possible results from your timelapse, you should check the forecast before you begin filming. Overcast or rainy days may not be as aesthetically pleasing as clear or partially cloudy days, but either may generate magnificent effects. If you want to take pictures with dramatic lighting and vivid colors, wait until the "golden hour," which is either just after dawn or right before sunset.
3. Camera Gear and Presets
A camera with manual settings, a stable tripod, and an intervalometer (if your camera doesn't have a built-in time-lapse capability) are all you need to capture a timelapse of a cityscape. Adjust the camera's aperture, shutter speed, and ISO to get the right exposure by switching to manual mode. Go to manual focus and use a wide-angle lens to get the whole city in the shot.
4. Duration and Interval Calculation
The time lapse's length and the gap between photos should be tailored to the desired outcome. Shorter intervals (say, 2-5 seconds) are preferable for a fluid, effortless action. A more dramatic impression of time passing may be achieved with longer intervals (such as 10-30 seconds). Determine the total number of frames required to create the length of video you want (e.g., 24 or 30 frames per second).
5. Taking the Timelapse Pictures
Mount your camera on a tripod and frame your photo according to the rule of thirds so that the final product is aesthetically pleasing. Fasten the intervalometer to your camera or activate the timelapse mode, setting the interval and the number of shots. Launch the time-lapse and keep an eye on your camera's battery and storage throughout. You must keep the camera in one place during the shot.
6. Post-Production
After shooting your photographs, you may edit them in a video application or create a time-lapse movie. Put the pictures in order from oldest to newest, and make sure the slideshow runs smoothly. Make the video more interesting to look at by adjusting the frame rate, color grading, exposure, and contrast. A timelapse may be improved with the addition of music, titles, and other effects.
7. Putting Your Artwork Out There
When you've finished your timelapse of Dallas, don't be shy about showing it out on social media or in online photography communities. This is a great way to get your name out there, make connections with other photographers, and display your skill at capturing the ever-changing beauty of the Dallas skyline.

Conclusion:
Capturing the essence of Dallas' recognizable skyline in a timelapse is a satisfying and aesthetically breathtaking experience. If you follow our detailed instructions, you'll soon be an expert at timelapse photography and able to create a fascinating film that captures the dynamic and ever-changing
Learn more about cinematic video production at H&K Cinema website.


Comments